- Riepas
- Šķidrumi
- SYNMAR Jauns
- Ziņas
- Ražotāji
- Atrunas
Piezvani: +37122525055

Izvēlies auto, lai atrastu piemērotas detaļas
Lai izmantotu šo funkcionalitāti, nepieciešama autorizācija
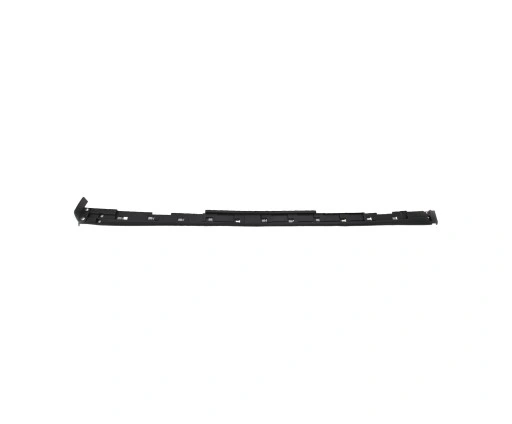
NISSAN Aizmugurējā kreisā sliekšņa uzlika
Šī NISSAN aizmugurējā kreisā sliekšņa uzlika nodrošina izcilu aizsardzību pret skrāpējumiem un nodilumu, vienlaikus uzlabojot jūsu transportlīdzekļa estētisko izskatu. Tā ir precīzi izstrādāta, lai ideāli atbilstu jūsu NISSAN modelim.
127.88 EUR
ar PVN 21%
Noliktavā 1
Aizmugurējā kreisā sliekšņa uzlika ir būtiska detaļa, kas pasargā jūsu NISSAN virsbūvi no ikdienas bojājumiem. Tā efektīvi aizsargā slieksni no skrāpējumiem, švīkām un citiem mehāniskiem bojājumiem, kas var rasties, iekāpjot un izkāpjot no automašīnas. Šī detaļa palīdz saglabāt jūsu automašīnas sānu daļas nevainojamu izskatu ilgtermiņā. Izgatavota no augstas kvalitātes materiāliem, šī uzlika garantē izturību un ilgu kalpošanas laiku pat sarežģītos ekspluatācijas apstākļos. Tā ir noturīga pret laikapstākļu ietekmi, UV starojumu un nelieliem triecieniem, nodrošinot uzticamu aizsardzību gadiem ilgi. Pateicoties precīzai NISSAN specifikāciju ievērošanai, šī sliekšņa uzlika nodrošina perfektu saderību un vieglu uzstādīšanu. Tā ir paredzēta tiešai nomaiņai, kas ļauj ātri un efektīvi atjaunot jūsu transportlīdzekļa sākotnējo izskatu un funkcionalitāti bez papildu modifikācijām. Investējot oriģinālās vai augstas kvalitātes rezerves daļās, piemēram, šajā sliekšņa uzlikā, jūs ne tikai uzlabojat sava NISSAN estētiku, bet arī saglabājat tā vērtību. Tā ir gudra izvēle ikvienam auto īpašniekam, kurš vēlas nodrošināt savam transportlīdzeklim vislabāko aizsardzību un izskatu.
- Aizsargā slieksni no skrāpējumiem un nodiluma.
- Uzlabo transportlīdzekļa vizuālo pievilcību.
- Izgatavota no izturīgiem, augstas kvalitātes materiāliem.
- Nodrošina ilgu kalpošanas laiku un noturību pret laikapstākļiem.
- Precīza saderība ar NISSAN modeļiem.
- Viegla un ātra uzstādīšana.
- Palīdz saglabāt automašīnas sākotnējo izskatu un vērtību.
Specifikācija nav atrodama
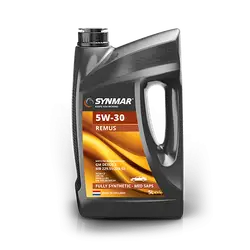
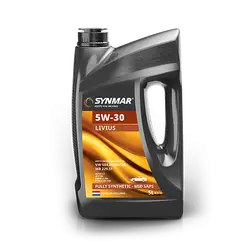
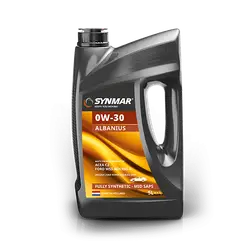
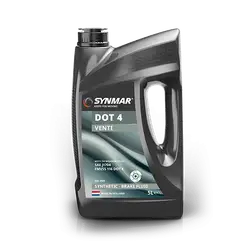
Vairāk SYNMAR produktu noliktavā
Noliktavā
Visi SYNMAR produkti