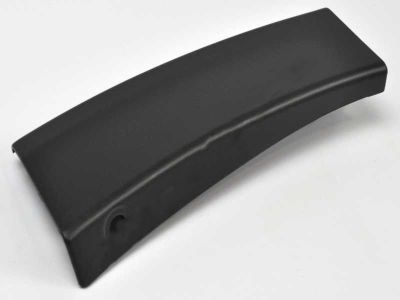
Toyota aizmugurējā kreisā bampera pagarinājums
Aizmugurējā kreisā bampera pagarinājums ir izstrādāts, lai precīzi atbilstu jūsu Toyota modelim, garantējot perfektu integrāciju ar esošo virsbūvi. Tas ir izgatavots no augstas kvalitātes materiāliem, kas nodrošina izturību pret ikdienas nodilumu un laika apstākļu ietekmi. Šī detaļa ne tikai atjauno jūsu automašīnas sākotnējo izskatu, bet arī piedāvā papildu aizsardzību pret nelieliem triecieniem un skrāpējumiem, kas var rasties, manevrējot vai novietojot automašīnu stāvvietā. Tā ir svarīga sastāvdaļa, lai saglabātu jūsu Toyota vērtību un vizuālo pievilcību. Viegla uzstādīšana nodrošina, ka jūs varat ātri un efektīvi nomainīt bojāto vai nolietoto pagarinājumu. Izvēloties oriģinālās detaļas, jūs garantējat optimālu veiktspēju un saderību ar jūsu transportlīdzekli.
- Oriģinālā Toyota detaļa (5216242420)
- Precīza piegulēšana un saderība ar jūsu Toyota modeli
- Izgatavots no izturīgiem, augstas kvalitātes materiāliem
- Aizsargā bamperi no skrāpējumiem un nelieliem bojājumiem
- Atjauno transportlīdzekļa estētisko izskatu
- Viegla un ātra uzstādīšana
- Nodrošina ilgstošu kalpošanas laiku un uzticamību
Specifikācija nav atrodama